
Body paint repair
NO.1 Preparation materials:
800-grit sandpaper, 2000-grit sandpaper, water (use a mineral water bottle to punch a few holes and fill it with water, and use it when sanding), test spray base plate, and auto paint primer.
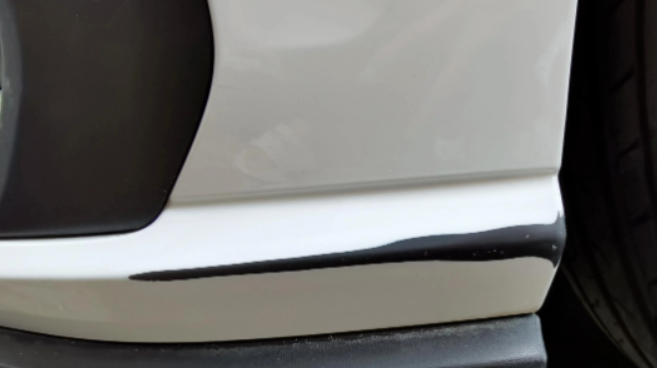
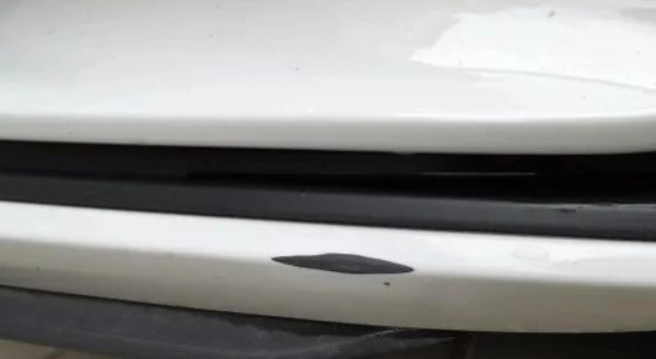
NO.2 Grinding scratches:
First use 800-grit sandpaper to polish the scratches, and rinse the warped paint and damaged parts roughly smooth while polishing. There will be some thin streaks after polishing with 800-grit sandpaper, which requires continuous polishing with 2000-grit sandpaper. Pay attention to the edges Rinse while sanding to sand until smooth.
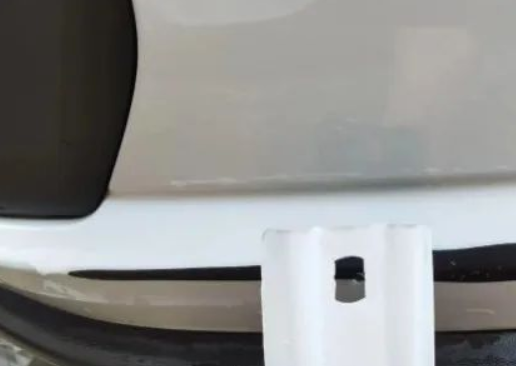
NO.3 Test spray bottom plate:
After the sanding is finished, dry the sanded area and the surrounding area. Note that it is best to rinse the surrounding paint after the sanding is completed, and do a good job in the preliminary work for the subsequent painting. Take out the pre-prepared test paint base plate, and pay attention to looking for the base plate with a relatively large color contrast. Some paint kits have white base plates. If your car paint is also white, the contrast is not significant or obvious. When spraying with car paint primer, spray evenly to the base plate at a distance of about 20 cm from the base plate, wait for about 20 minutes, and compare the color of the body and the test spraying color of the base plate.
NO.4 Subsequent preparations:
Paint: quick-drying filling soil, plastic primer, color paint, glossy varnish, spit water
Quick-drying soil filling: mainly used to fill potholes in body parts;
Plastic primer: mainly to enhance the adhesion between plastic parts and paint;
Color paint: used to fill the body color;
Glossy varnish: After spraying the color paint, it will not be as bright as the original car paint, so use the glossy varnish to make the surface of the repaired car bright;
Spit water: It is mainly sprayed on the repaired paint and the non-retouched paint, and it is used for excessive use of new and old paint.

 français
 Deutsch
 italiano
 русский
 español
 português
 العربية
 हिन्दी
 Türkçe
 IPv6 network supported